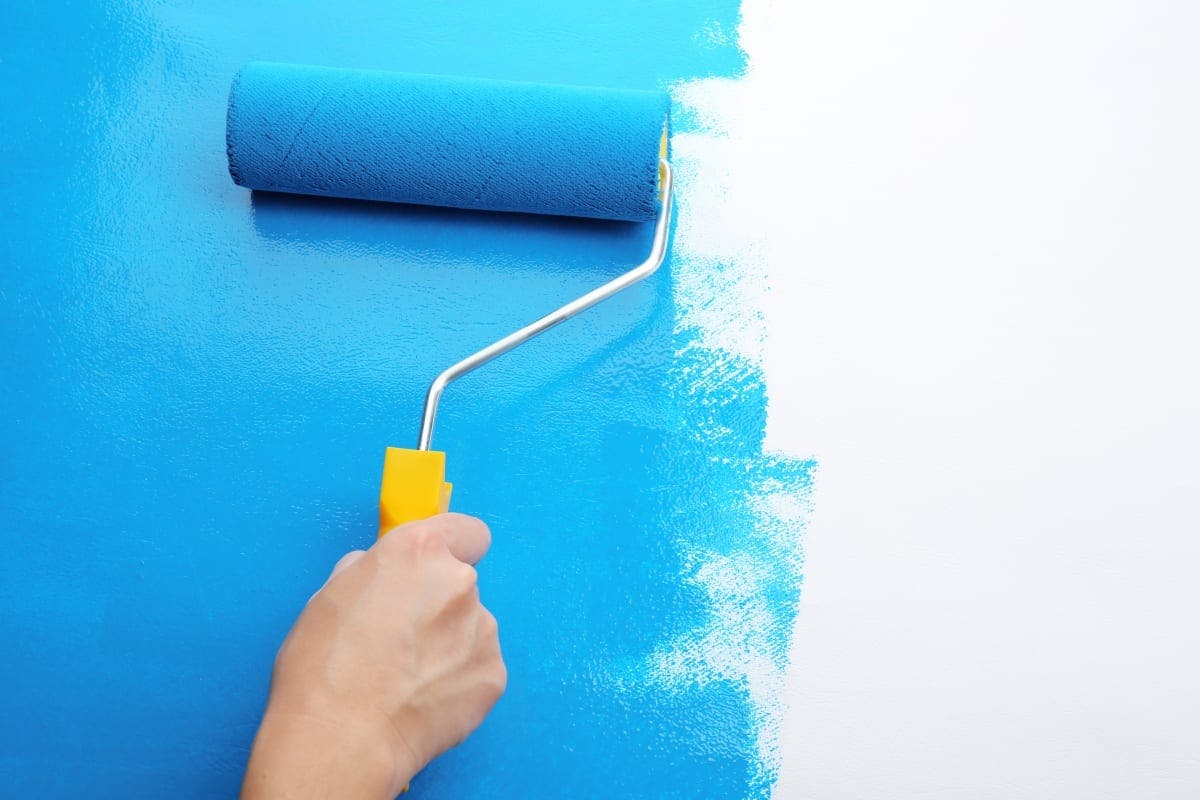
Whether you’re buying or selling, having perfectly painted walls is a relatively quick and easy way to improve the look and feel of your home. Many sellers ask themselves “How Do I Increase the Resale Value of My Home?”
There are a few tricks the professionals use to speed up their process and boost the quality of their finish when painting a home. Things Like:
- Filling Holes & Dents
- Clean Lines Around Edges
- Tools For Efficiency
So if you want to paint your home like a professional, read the tips below to learn how to upgrade your skills and improve the resale value of your home.
First, here are some supplies you’ll need to get that professional finish:
- Paint
- Painter’s Tape
- Plastic Drop Cloths
- 5-in-1 Tool
- Spackle
- Paint Roller Extension Pole
- Paint Roller
- Paint Trays
- Sandpaper
- Putty
- Putty Knife
The proper painting tools make a world of difference when it comes to painting your home like a professional.
Step 1 – Remove All the Wall Hangings in Your Home
Removing every single wall plate and nail from the walls in your home can seem like a hassle, but professional painters know that it’s the best way to speed up a project.
Not only that, but the tell-tale sign of an amateur painter is paint left on the edges of switch plates that requires touch up afterward.
Go around the entire area of your home you plan to paint and remove anything off the wall that shouldn’t be painted. Take the time to remove thermostat covers, light switch plates, nails, screws, and anything else that’s in your way.
Step 2 – Prepare the Surface of the Wall
After you’ve gotten everything out of your way, it’s time to make sure the entire home is prepared for paint.
That means taking your 5-in-1 tool and creating “dents” where all of your screw and nail holes are. This allows for your spackling or drywall compound to fully fill in the hole, giving you a smoother looking finish.
Once you’ve enlarged the holes, it’s time to go around and fill them. While spackle will do, we recommend using a drywall compound mixture since it’s less likely to show through layers of paint.
But no matter what filler you use, it’s important not to overfill or leave residue behind. This only makes sanding take longer and it can lead to rough lines and uneven texture in the end.
Step 3 – Sand All Surfaces of Your Home
The sanding step is important for creating a beautiful, smooth finish on your walls. That is why we recommend a round sander with an extension arm that will allow you to sand the entire wall in no time.
You can still use a hand sander around edges and corners, but investing in a round sander will make your life a lot easier, and cut your preparation time in half.
Once you’ve prepared your sander, make sure to use smooth strokes to fully sand off any roughness left behind by your filler.
If you are painting to increase the resale value of your home, then making the wall surfaces smooth and crisp is extremely important.
Step 4 – Paint The Edges And Corners
The key to painting your home fast is doing the edges and corners first. You want to color inside the lines before you fill in the entire picture.
Assuming you’ve chosen the right brush for the job, you’ll want to soak your brush and create a circle around all your outlets and then fill them in.
This eliminates excess paint and allows you to drag that paint inward, preventing drips. Then, when it’s time to do ceilings and corners, use the outer edge of the bristles as your guide.
Just make sure you do this section by section in your home and don’t allow the paint to dry before you roll over it. If it dries, it’ll be obvious in the final texture that one section was brushed on while the other was rolled.
Take your roller and start painting the entire wall in even strokes, but only go about two rollers wide on the first coat before refilling the roller.
Getting a thicker first coat will prevent you from having to do extra coats in the end, especially if you’re not using a primer.
If you’re truly painting your home like a pro, the second coat will be your last. That’s why it’s important to use a keen eye and find any lingering imperfections left behind by your first coat.
Go back over things with a sander if you must, then go in and apply your second coat, making sure everything is covered and nothing shows through.
Now that you have all of the insider secrets on how to paint your home like a pro, your upcoming painting jobs are going to come out looking amazing in half the time.
By having a newly painted home you can significantly increase the resale value, making both yourself and your realtor happy!


